


If you have been following along with my blog, you will know that my master closet built in's have been something I have wanted to do for two years.
We finally started the process of getting bids a few months ago, and after being blown away with the pricing to have it done we settled on a company called Easy Closets and took the DIY approach.
We designed the closets on line, spoke with a design rep, ordered the closets, demo'd my old closet, started construction on the built ins, and then came to a screeching halt when the custom holes in the vertical support shelves were drilled wrong.
After waiting four days for a new shipment, the project resumed.
These are the correct vertical shelves, and we will pick up where we left off last time.

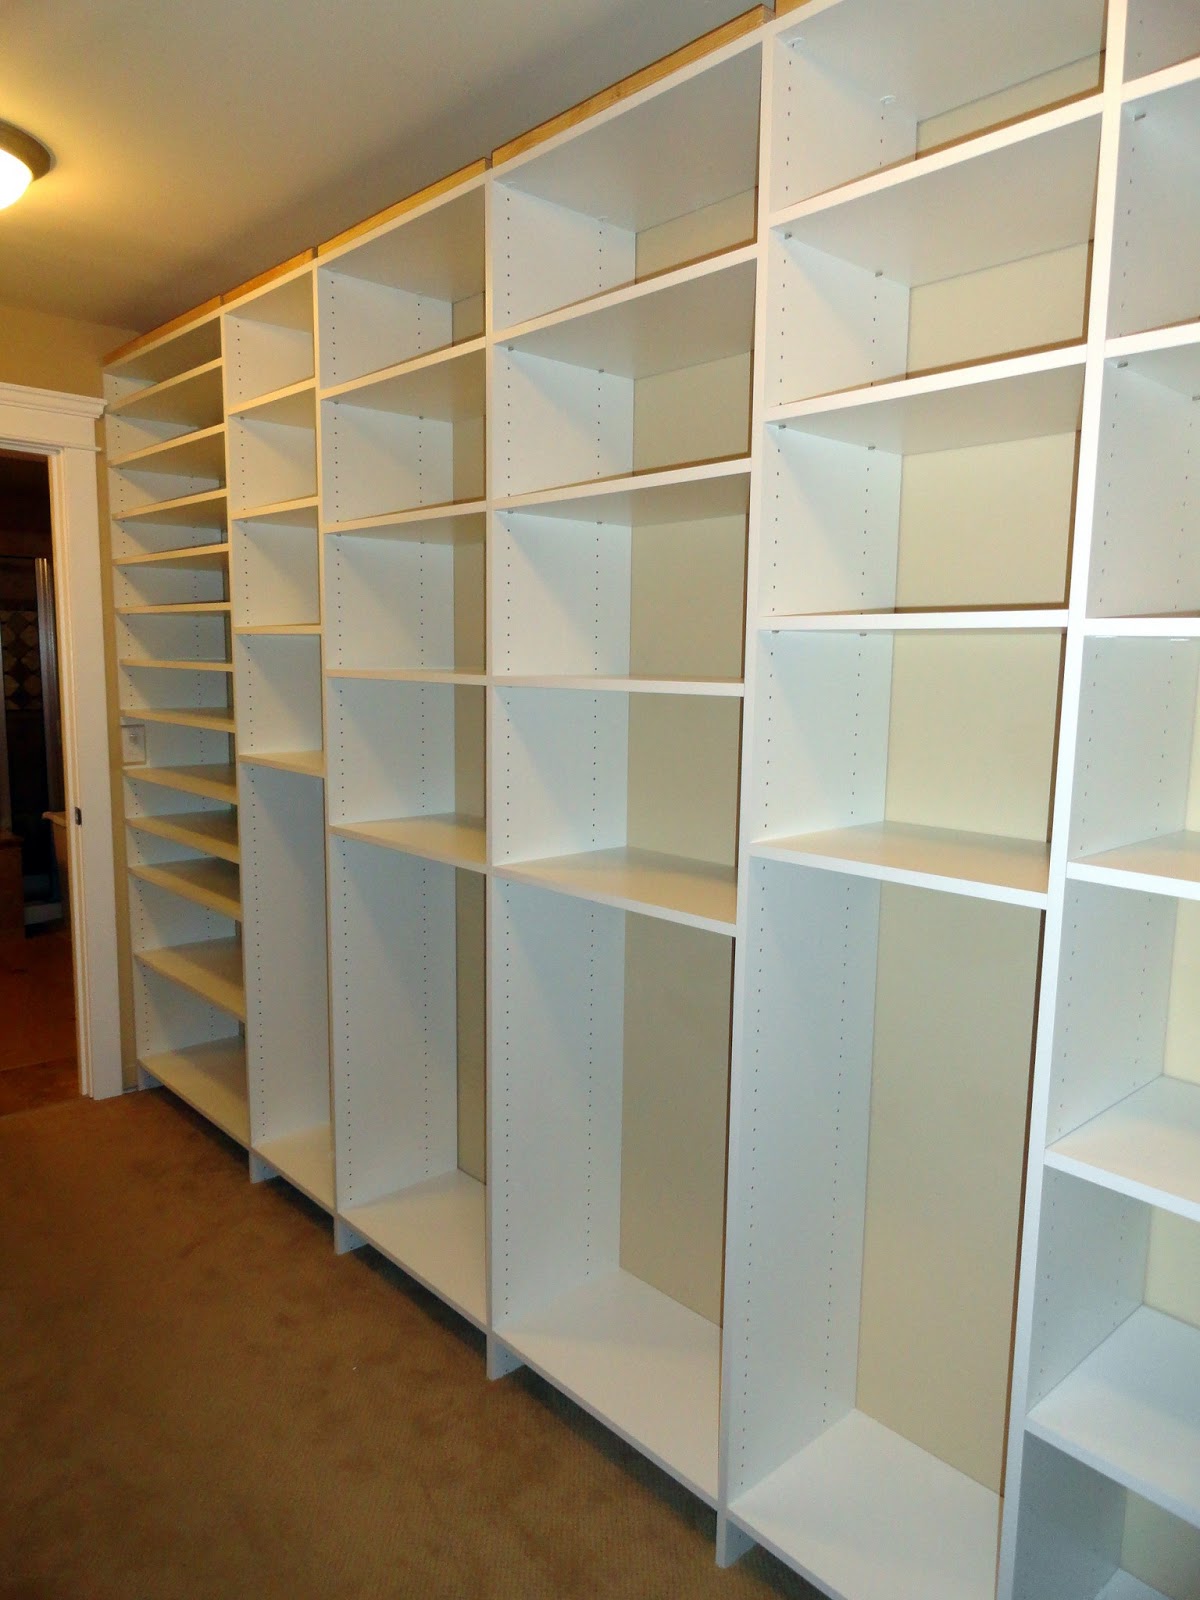
Shelves were put in according to the design.

This first section is my shoe shelf.
There is room for a lot of shoes!

A picture of the shelving all in place on the left side of the closet.
A picture of the right side of my closet.
See that drawer at the bottom?
It's a built in laundry basket.

Base molding was put up and
that was the stopping point for the evening.
Things are starting to come together.

The next morning brought the construction of all 21 drawers.
My husband estimated that each one took him about 10 minutes to assemble.
Multiply that by 21 and you have a big math problem that I don't want to do without a calculator!

There are drawers of all sizes that ended up lining the walls of my bedroom.

After the drawers were assembled, the crown molding was hung.

Now it's really starting to look like a closet!

I sort of have a crush on crown molding.

On the right side, my closet meets up with a window, not a wall like on the other side.
My ever cautious husband decided to put a wall mount in on this side so that the closet is more secure.
See those two screws?
That's the mount.

He attached the bracket to the wall, and now we can all sleep at night.


The installation of the drawer slides came next.
There are lots of drawers, so there are lots of slides.

This is the first bank of drawers going in on the left side.

The rods came next.
The right side of the closet is mostly hanging rod shelving.
The way that the design is set up, for ease of use, the rod hanging hardware fits in to the holes of the vertical shelving. However, this means that the hangers that go on the rods end up sticking out a fair amount.

We can't have that, so my handy husband decided to rehang the rods further in to the shelving so they stick out less. He measured how far in he wanted them,

drilled the holes

taped it up???
O.k., I'll be honest, I have no idea what step this is.
I wasn't around. I heard about it, but I didn't do it.
I'm sure it's important though.

And now the rods hang in the shelving a few inches further which makes the hangers stick out less in the closet.

I am not tall enough to reach the top rods, which is why these are hung down so low.
Because of that, we have decided to put a shelf up above these two rods.

The final step is caulking the crown and base molding.
And then painting.


No comments
Post a Comment