


I've been blogging for a really long time. {I think blog years are similar to dog years.} Through those years I've created a lot of projects. Some of those projects just haven't gotten the love that I think that they deserve. Many have barely been seen, because when I wrote them I had like four people reading my blog. I have a few new readers and I don't want my new friends to miss out on some of these projects because I think they are pretty stellar, so I'm refreshing some of them. I'm bringing them out of the archives for you to enjoy. Coincidentally, I'm conveniently leaving some of those not so great projects hidden in the archives. You can find them on your own but boy oh boy I'm not bringing them back into the light! Some of those need to get buried far deep down {ahem...pipe cleaner tree} and never seen again.
I'm starting with this zipper bracelet tutorial because I love my arm candy and because these bracelets cost me next to nothing, which is my favorite price for a project.

I am a craft supply hoarder. I love my garage sales during the summer and I find that it's the best time to pick up craft supplies. Sometimes, like this time, those supplies sit in my closet or in a drawer for weeks, even years before they get used.
There aren't many people that sew anymore, so finding vintage zippers like these are usually easy to come by at an estate sale for cheap. I picked them up for about a dime a piece. My favorite zipper to use are the 7" jean zippers. I like the brass on them and the thickness of the zipper makes for a nice substantial bracelet. Don't have a garage sale? You can buy a zipper instead.

I don't make jewelry often, but I do have needle and round nose pliers that are helpful to make and fix jewelry. Consider getting a set. You will also need cup chain ends, jump rings, clasps and charms {optional}. All of these materials I usually have on hand because when you buy them, you usually have to buy them in bulk.
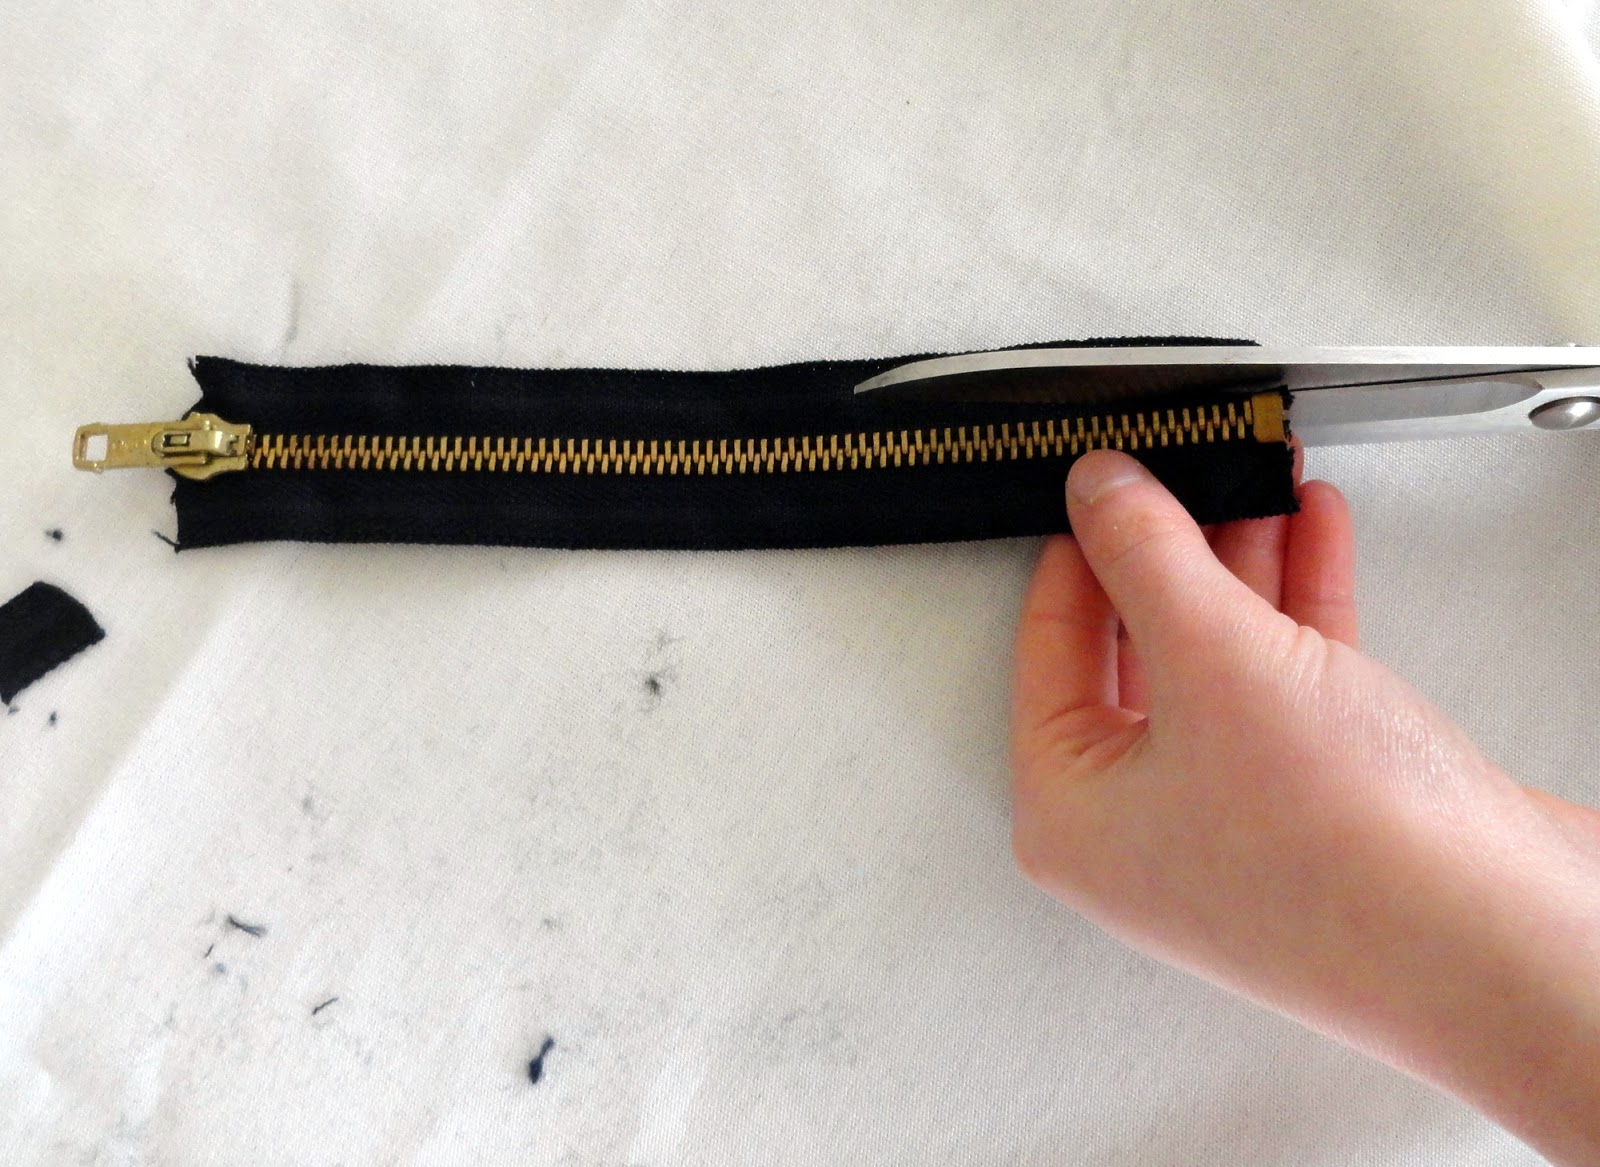
Start by cutting off the ends of your zipper.

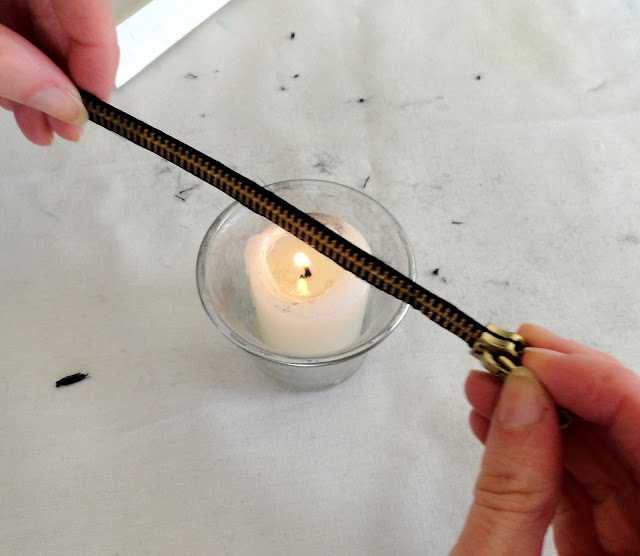
Once you cut your seams, light a candle and hold your zipper over the flame to seal the sides of the fabric. Be careful because your zipper will be hot!
Use a cupchain to secure the end of your zipper. You can even use a dot of glue to make sure it holds in place.

Slide on a jump ring, your charm if you are using it and a clasp. Close your jump ring with your pliers. Your clasp will fit into the hole at the end of your zipper.

Pretty snazzy right? You can layer your bracelets for even more awesomeness because one can never have too much arm candy. If you want to see the original tutorial with even more step by step photos, you can find the post here.


No comments
Post a Comment