


Rachel Teodoro: duck tape
Showing posts with label duck tape. Show all posts
Showing posts with label duck tape. Show all posts
DIY Coordinating Christmas Ornaments and Wrapping Paper the Easy way!
Mixed Metal Mirror Duck Tape Wreath
Remember how gold anything made us gag like 10 years ago? Now I can't get enough. Especially around the holidays. My absolute favorite part about Christmas {besides the cards} is the twinkly shiny everything. Twinkling lights on the tree, shiny ornaments and now, my new favorite Christmas decoration is this mixed metal mirror Duck Tape wreath. What's that you say? This is Duck Tape??? Stop it!!! Yep, it doesn't look like it because it's too busy looking like a million bucks that's why.


Updating Boring School Supplies with Duck Tape
Update Boring School Supplies with Duck Tape
I know many of you already have kids that have headed back to school. Not us. We still have more than three weeks of summer left and we are not rushing it! However, all of the stores are overflowing with school supplies which has my kids thinking that it's time to restock. I was with my daughter in Walmart the other day, and we saw this great display for Duck Tape. Did you know you could buy so many different prints and patterns? My tween daughter is heading to middle school and is very artsy and creative. She loves bold prints and patterns and immediately fell in love with the chevron Duck Tape® and coordinating green and pink rolls.

We bought a few school supplies and scrounged a few that we had at home that were still in good enough condition to use for another year. So plain and boring, especially for my artsy middle schooler.

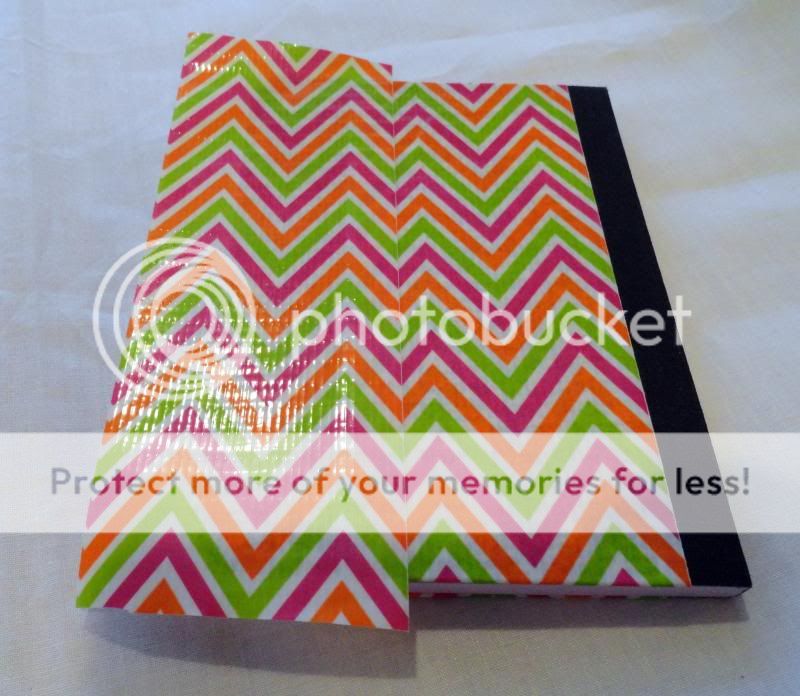
We started glamming up these same old same old composition notebooks. Three rolls of Duck Tape...three notebooks with endless possibilities!

It was so easy, you don't need a tutorial, but I will show you one of the steps in the process as we took tape and covered the outer cover.
Next up, we tackled the boring clear clipboard. We started covering it with tape in the same way we covered the notebooks.
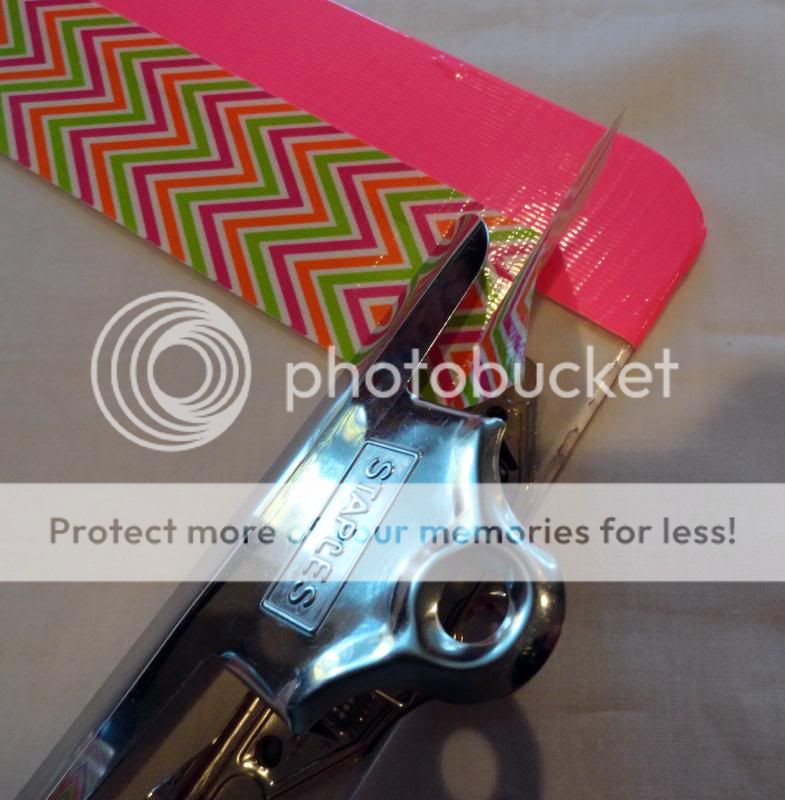
The problem with clipboards is that they have the metal top that makes it difficult to work around. The tape molded easily around and cut clean.

Because I have two boys, my pencil stash had some skull covered mechanical pencils in it.
They just weren't cutting it for my daughter so we covered those in Duck Tape too!
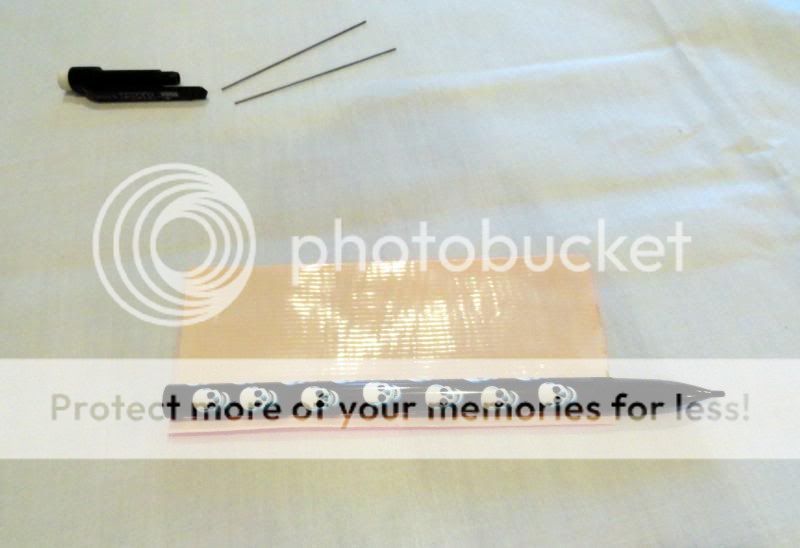
Nothing is safe!!! I just removed the top of the pencil and the lead
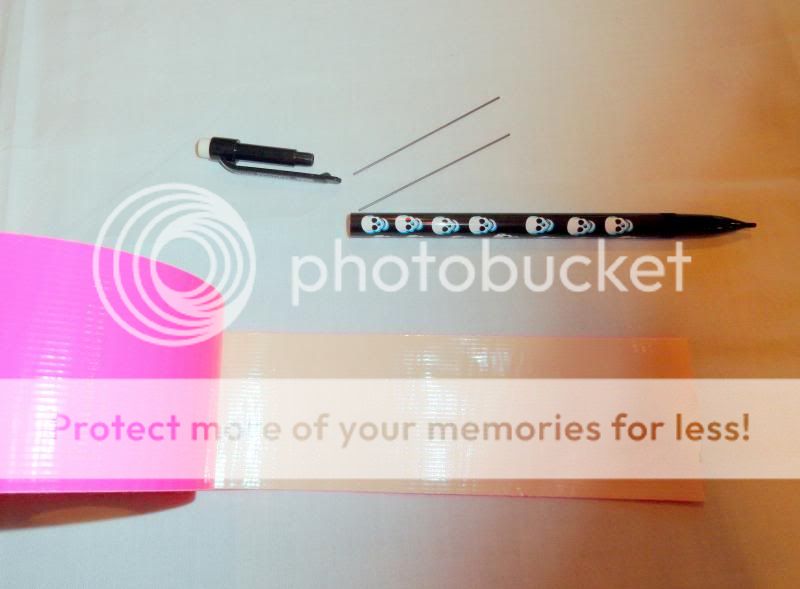
and measured out a piece of tape the length of the pencil that I wanted covered.
Amazing new coordinating pencils you would have never guessed were covered in skulls before!
I love using what I have to make something awesome!

My daughter and I had so much fun making all new school supplies with some new {and old} items.
She ended up with a chevron Duck Tape binder, notebook, clipboard, three composition notebooks, a pencil box, pencils and those bows? Those are coordinating magnets for her very first locker!

All it took was a little Duck Tape and less than an hour.
Those school supplies went from a boring before to a fabulous after, just in time for my artsy tween daughter to start middle school!

Instead of reaching out for those overpriced overdecorated school supplies, let your kids get creative this year. Save money!
Use what you have or stock up on the cheaper boring stuff and let your kids give their back to school supplies a fun makeover.
Pineapple Pencil Pouch Tutorial made with Duck Tape
Duct Tape Pineapple Pencil Pouch Tutorial

Easy to make tassel pen and coordinating notebook with Duck Tape
It feels like summer just started, but really, it's starting to wind down a bit and we are beginning to think about heading back to school. My kids have been doing this school thing for quite some time now. Two of the three no longer get lists of school supplies in the form of a checklist. They just know what they like and what works for them.
My daughter is obsessed with stationary supplies. I had no idea that was a thing. But then I started mentioning it to other people and apparently there are other people who love office supplies. Who knew? Maybe you {or one of your kids} is one of them!
I learned that one of the things that office supply lovers love is coordinating supplies in a great print. One of our best tricks is picking up Duck Tape and using that to update cheap school supplies.

A plain composition notebook on sale can be picked up for less than a dollar. One with a fun print is usually at least double. So why not make your own? Not only that, now you can use your Duck Tape to create coordinating supplies for everything from folders, to pencils and pens. The only thing stopping you is your creativity!
Tassels are hot this season, so not only did we want to coordinate some supplies, we wanted to do it in style!

Duct tape helmet tutorial
How to Cover your Helmet in Duct Tape

I didn't grow up wearing a bike helmet when I was younger.
I realize how important they are and I am helmet Nazi for my kids,
but when I wear one, I feel like a total dork.
My youngest son and I have taken to biking to school.
Well, I bike, he rides his unicycle.
I want to be a good example so I wear this free IKEA helmet one of my kids got as a birthday present in kids club.
{thank you IKEA}

I decided that I would put my own flair on it
{and cover up the IKEA logo}
with some duck tape.
I had a few coordinating rolls laying around, so I picked two.

I decided I wasn't bold enough to go with a full on print on the whole thing,
so I took the plain blue tape and started in the middle and then covered the outside of the helmet.

I continued covering the helmet with long tape pieces and straightened it out as much as possible.
There are several vents in a helmet, I just used a box cutter to cut those open and fold the tape inside.

I decided to use the chevron tape as an accent on the bottom and the inside of the vents.

The inside of the vents were the trickiest part.
I cut the pieces of tape in half and carefully placed them on the inside.

I'm pretty pleased with the finished product.

I gave my free helmet and update and made it my own.


Updating back to school supplies with Duck tape from the archives
All this week, I will be pulling out some of my favorite old projects from my Holy Craft archives.
I'm currently in Uganda with World Vision on a vision trip and couldn't be more excited to share my trip with you when I return. In the meantime, if I am able, I will be updating my instagram with pictures.
For now, enjoy this back to school update from August of last year.
I know many of you already have kids that have headed back to school.
Not us.
We still have more than three weeks of summer left and we are not rushing it!
However, all of the stores are overflowing with school supplies which has my kids thinking that it's time to restock.
I was with my daughter in Walmart the other day, and we saw this great display for Duck Tape®.
Did you know you could buy so many different prints and patterns of Duck Tape®?
My tween daughter is heading to middle school and is very artsy and creative.
She loves bold prints and patterns and immediately fell in love with the chevron Duck Tape® and coordinating green and pink rolls.

We bought a few school supplies and scrounged a few that we had at home that were still in good enough condition to use for another year.
So plain and boring, especially for my artsy middle schooler.

We started glamming up these same old same old composition notebooks.
Three rolls of Duck Tape®...three notebooks with endless possibilities!

It was so easy, you don't need a tutorial, but I will show you one of the steps in the process as we took tape and covered the outer cover.

Next up, we tackled the boring clear clipboard.
We started covering it with tape in the same way we covered the notebooks.

The problem with clipboards is that they have the metal top that makes it difficult to work around.
But it was no match for Duck Tape®!
The tape molded easily around and cut clean.

Because I have two boys, my pencil stash had some skull covered mechanical pencils in it.
They just weren't cutting it for my daughter so we covered those in Duck Tape ® too!
Nothing is safe!!!
I just removed the top of the pencil and the lead

and measured out a piece of tape the length of the pencil that I wanted covered.

Amazing new coordinating pencils you would have never guessed were covered in skulls before!
I love using what I have to make something awesome!

My daughter and I had so much fun making all new school supplies with some new {and old} items.
She ended up with a chevron Duck Tape® binder, notebook, clipboard, three composition notebooks, a pencil box, pencils and those bows? Those are coordinating magnets for her very first locker!

All it took was a little Duck Tape® and less than an hour.
Those school supplies went from a boring before to a fabulous after, just in time for my artsy tween daughter to start middle school!

Duck Tape Valentine's Day Candy pouch tutorial
My tween daughter could not have been more excited about the new Valentine's day duck tape designs.
Duck tape is always coming up with something awesome and their new designs did not disappoint!
My daughter immediately knew what she wanted to make with the Valentine's day designs, and she quickly set to work on these Valentine's day candy pouches!

My daughter was excited to help put together a tutorial of her Valentine’s Day craft, so that you can make these awesome valentine's day pouches too!
Start by folding about 8 inches of tape in half on itself to make a 4 inch long strip.

Do this three times and place them down side by side.

With your three pieces of tape side by side, put a horizontal strip of tape around the front.
One side works, however, you can put the tape on both sides to give it a cleaner look.
At this point, you will have 3 strips long, and 2 strips wide holding everything together.

Repeat these steps with your coordinating color tape

Once you have both of your sheets of duck tape brand tape made, place them on top of each other and fold them in half.

Cut out a heart in one of your tape pieces and then use it as a guide to cut out your second heart.

You will now have two duck tape hearts

Take a piece of duck tape and cut it in half.
Use half of the piece on one side of the heart, and the other half on the other.
Your tape will only cover the side edges.
This will be your adhesive to make your pouch.

Fold up the other half of duck tape piece and carefully stick your coordinating heart in place.

You can't just make one!
Fill your pouch with your favorite treat and share the love to all of your friends!

Subscribe to:
Posts (Atom)
